Git Install
How to Install Git
You can download Git for free from git-scm.com.
- Windows: Download and run the installer.
Click "Next" to accept the recommended settings.
This will install Git and Git Bash. - macOS: If you use Homebrew, open Terminal and type
brew install git.
Or, download the .dmg file and drag Git to your Applications folder. - Linux: Open your terminal and use your package manager.
For example, on Ubuntu:sudo apt-get install git
After installation, you will be able to use Git from your terminal or command prompt.
Tip for Beginners: Installing Git is safe and you can always uninstall it later if you want.
Git Bash
Git Bash is a terminal for Windows that lets you use Git commands.
Look at our Bash Tutorial to learn more about Bash.
After installing Git, you can find Git Bash in your Start menu.
You can use Git Bash just like the Command Prompt, but with extra Unix commands (like ls and pwd).
Example: Open Git Bash
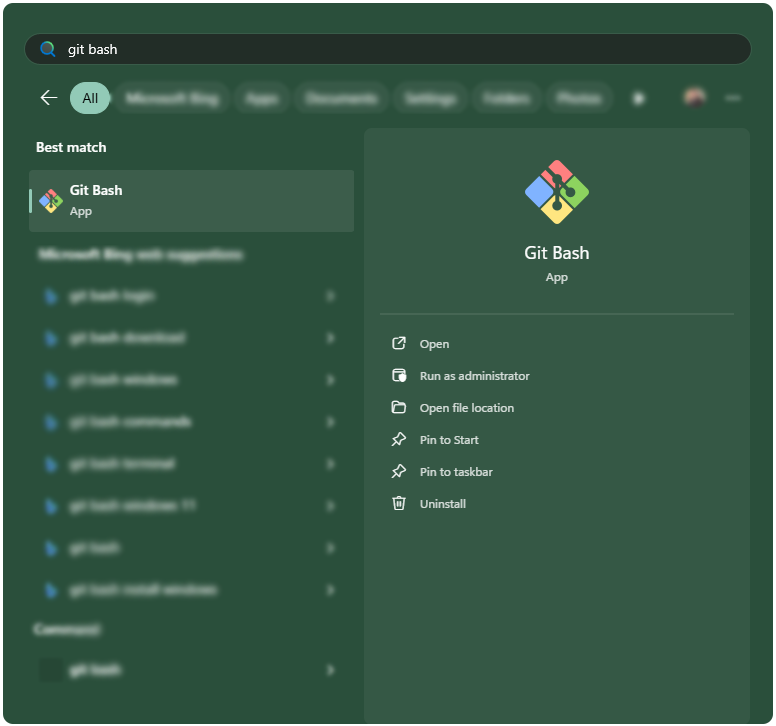
Click Start, type "Git Bash", and open the app.
Example: First Command in Git Bash
ls
Desktop  Documents  Downloads  Pictures
This command lists the files in your current folder.
Verifying Your Installation
After installing, check that Git works by opening your terminal (or Git Bash on Windows) and running:
Example: Check Git Version
git --version
git version 2.43.0.windows.1
If Git is installed, you will see something like git version X.Y.Z
If you see an error, try closing and reopening your terminal, or check that Git is in your PATH.
Default Editor
During installation, Git asks you to pick a default text editor.
This is the program that will open when you need to write messages (like for commits).
Example: Set VS Code as Default Editor
git config --global core.editor "code --wait"If you're not sure, just pick the default (Notepad on Windows). You can always change this later.
Example: Set Notepad as Default Editor
git config --global core.editor "notepad"PATH Environment
Choosing to add Git to your PATH means you can use Git commands in any terminal window.
This is highly recommended for most users to do this during installation.
If you skip this, you'll only be able to use Git in Git Bash (on Windows) or Terminal (on macOS and Linux).
Example: Check if Git is in PATH
git --version
git version 2.43.0.windows.1
If you see an error, you need to add Git to your PATH.
How to Add Git to PATH after Installation
- Windows:
- If you missed the option during installation, search for "Environment Variables" in the Start menu and open it.
- Click "Environment Variables..." and find the "Path" variable under "System variables".
- Click "Edit", then "New", and add the path to your Git
binandcmdfolders
(e.g.,C:\Program Files\Git\binandC:\Program Files\Git\cmd). - Click OK to save. Restart your terminal.
- macOS:
- If you installed with Homebrew, your PATH is usually set automatically.
- If not, open Terminal and add this line to your
~/.zshrcor~/.bash_profile: export PATH="/usr/local/bin:$PATH"- Save the file and run
source ~/.zshrcorsource ~/.bash_profile.
- Linux:
- Most package managers add Git to PATH automatically.
- If not, add this line to your
~/.bashrcor~/.profile: export PATH="/usr/bin:$PATH"- Save the file and run
source ~/.bashrcorsource ~/.profile.
After adding Git to your PATH, open a new terminal window and run git --version to check that it works everywhere.
Line Endings
Git can convert line endings in text files.
On Windows, it's usually best to select "Checkout Windows-style, commit Unix-style line endings".
This helps prevent problems when you share code with people using different operating systems.
Updating or Uninstalling Git
- Update: Download and run the latest installer, or use your package manager
(e.g.,brew upgrade gitorsudo apt-get upgrade git).
It's a good idea to keep Git up to date for the latest features and security fixes. - Uninstall: Use "Add or Remove Programs" on Windows, or your package manager on Mac/Linux.
Troubleshooting Git Installation
If you run into problems installing or running Git, don't worry!
Here are solutions to some of the most common issues.
Tip: If something doesn't work right away, try closing and reopening your terminal, or restarting your computer.
Common Installation Issues
- "git is not recognized as an internal or external command"
Solution: Git is not in your system's PATH. Make sure you installed Git and restart your terminal.
If needed, add Git'sbinfolder (usuallyC:\Program Files\Git\bin) to your PATH.
If it still doesn't work, try restarting your computer. - Permission errors ("Permission denied")
Solution: On Windows, run Git Bash or your terminal as administrator.
On macOS/Linux, usesudoif necessary. - SSL or HTTPS errors when cloning/pushing
Solution: Check your internet connection.
Make sure your Git version is up to date. - Wrong version of Git
Solution: Check your installed version withgit --version.
Download the latest version from git-scm.com if needed.

